Showing posts with label Nestabilities. Show all posts

Sunday, January 16, 2011

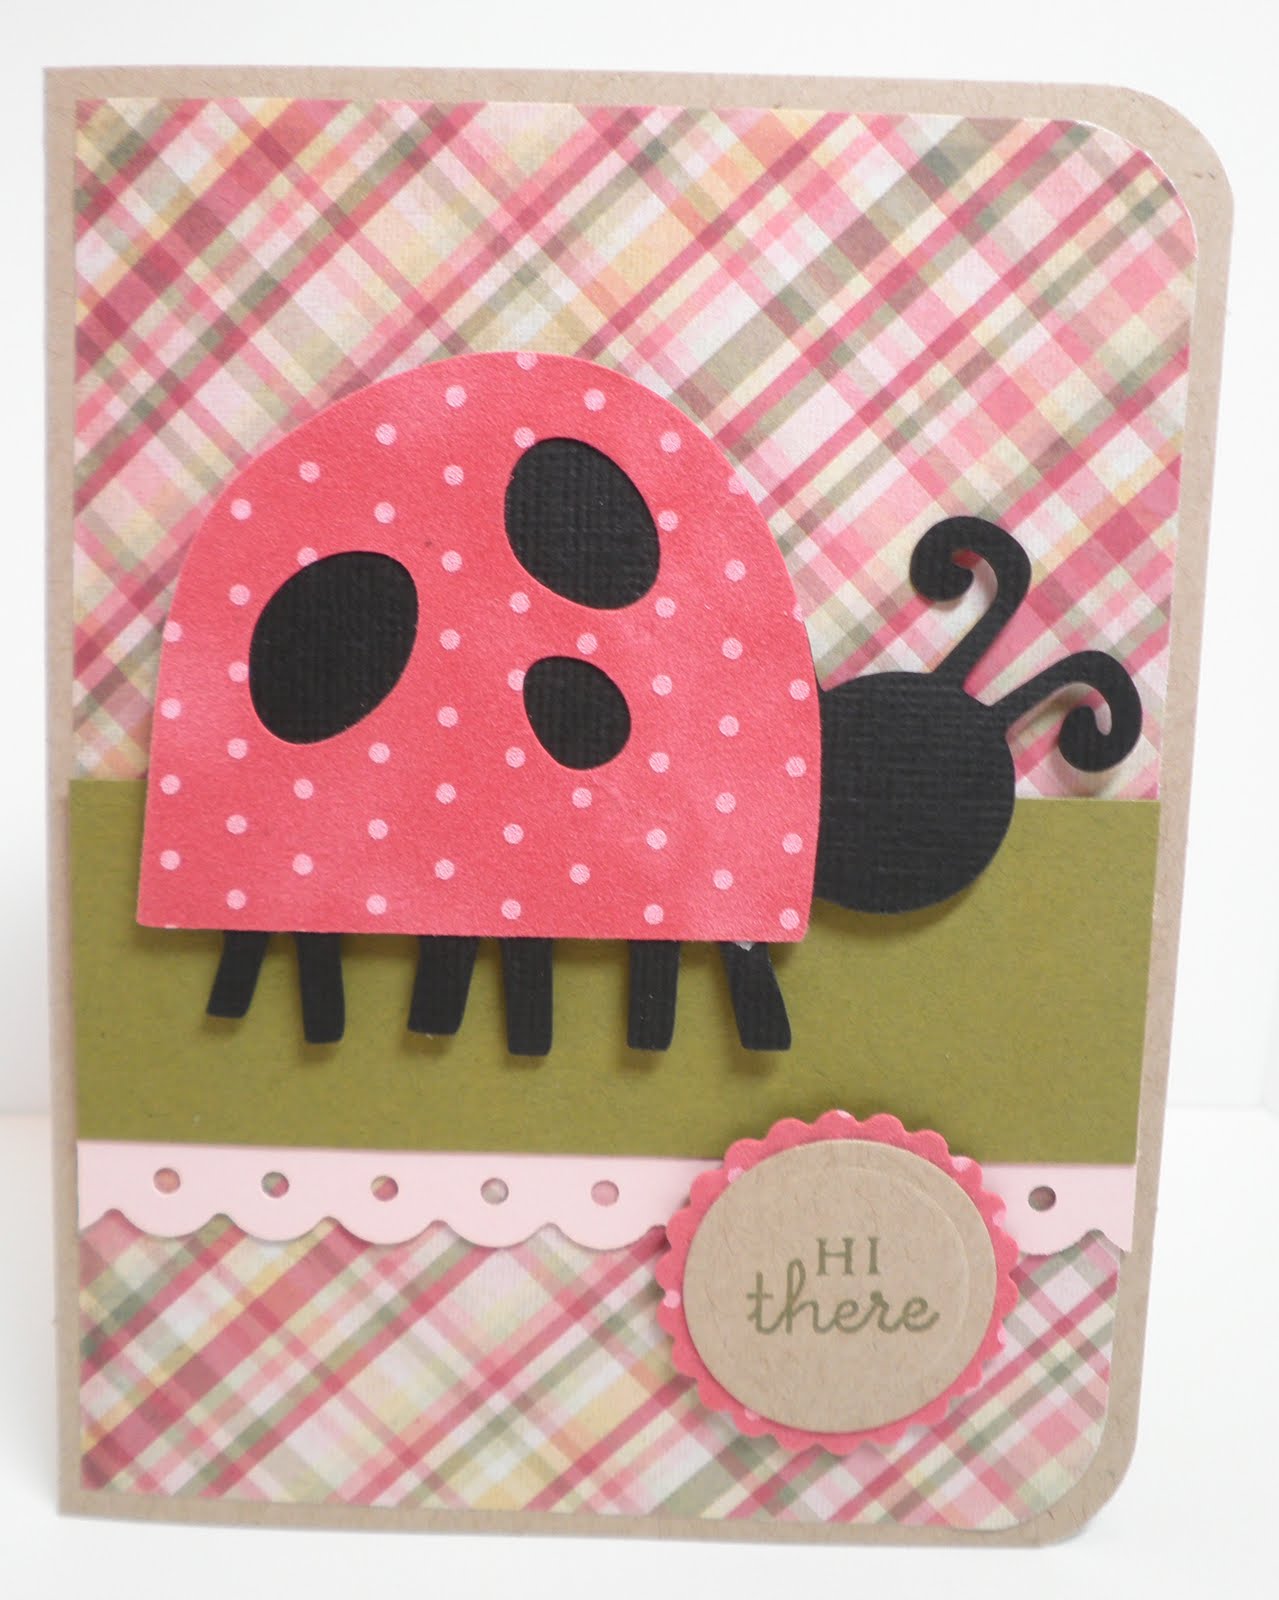
"Hi There" Ladybug Card


Yay! It's scraplift time! LOL


My inspiration for this card came from HERE. Eerily similar, aren't they?


The card is standard A2 size and I rounded the right side corners with my new We R Memory Keepers Corner Chomper. All of the cardstock is from Papertrey Ink, except the black, which is DCWV. The ladybug was cut at 2.5" with the Cricut using the Walk In My Garden cartridge. The background paper is from the My Mind's Eye Simply Delightful stack, and the velvety red and pink dotted paper is from a Michael's clearance sale a few years ago - the maker is unknown.


The sentiment is from Papertrey Ink's Mega Mixed Messages set and was stamped with VersaMagic chalk ink Hint of Pesto. 


The circle and scalloped circle were cut in the Cuttlebug with Nestabilities.  The pink scalloped border was punched using the Fiskars Threading Water punch.


Super easy and versatile enough for lots of different occasions!

Sunday, September 19, 2010

Embossed Flowers Thank You Card

If you tilt your head just a bit, the card will be straight! LOL OK, so my picture taking ability stinks.

I can't even begin to express how simple and easy this card was!! The "white" embossed piece is Core'dinations Whitewash cardstock with a lavender core. I embossed it with the "Elegant Bouquet" embossing folder from Stampin Up in my Cuttlebug. I sanded the embossing until the core color showed.

The sentiment is from Papertrey Ink's "Signature Greetings" and was stamped in purple ink and heat embossed, then cut using a Nestabilities die in my Cuttlebug. A few clear rhinestones in the center of the flowers finish it off.

You can use this base for soooo many different kinds of cards - just change the colors and sentiment to suit your occassion!

Soaring By To Say Hi Card

This card was so fast and simple to make!!

Everything (except the Autumn Leaves buttons and black Staz-On ink) is from Papertrey Ink. (I'm LOVING everything from there lately!!) The stamps are the "Everyday Button Bits." I stamped the balloons and sentiment on Kraft cardstock and cut them out with Nestabilities dies in my Cuttlebug. Stick on a few buttons, add a ribbon, and you're done!

Wednesday, August 25, 2010

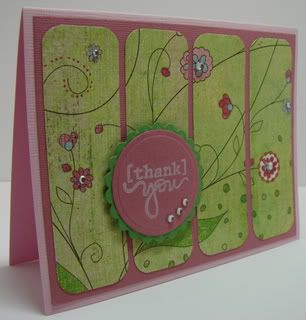
Thank You Card


This was a SUPER simple card!! I started with a light pink A2 card base (5.5" x 4.25") and added a darker pink layer that was 5.25" x 4". I added 4 strips of patterned paper from the Basic Grey "Phoebe" line about 1 3/16" wide and 3.75" long that I used a corner rounder on. The "thank you" is a Studio G stamp stamped with Stampin Up's Whisper White Craft Ink. I used Nestabilities in my Cuttlebug for the circle and scalloped circle. A few rhinestones finish it off.

I told you it was simple! :) I use this layout a lot when I need a quick and easy card.


Tuesday, November 10, 2009

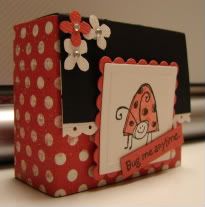
Ladybug Ghirardelli Box

Who loves chocolate? *jumping up and down* ME! I do!!

This little box holds 4 Ghirardelli chocolate squares. You would never know what yummy goodness it hold just by looking at it.

These little guys are so easy to make! You can get the directions here: http://www.splitcoaststampers.com/resources/tutorials/ghirardellibox/

My box was made from black Bazzill cardstock and covered with red polka dot paper from the My Mind's Eye Complete Boy stack. (I don't think I've mentioned lately how much I LOVE MME paper! LOL) The ladybug and sentiment are from Stampin' Up's "Very Punny" set and the ladybug was colored with a watercolor pencil. The flowers were made with a Martha Stewart hydrangea punch and the rhinestones are 2mm nail gems I got off eBay. The square and scalloped square were cut using Nestabilities dies in the Cuttlebug, and the white trim was made from the EK Success Dotted Scallop border punch.

And that's all there is to making a cute little chocolate box! :)

Tuesday, November 3, 2009

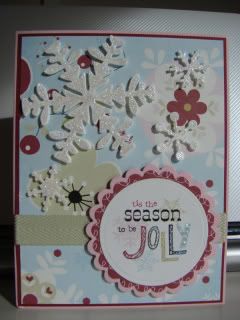
Jolly Christmas Card

I feel like I cheated with this card!

The sentiment and pattern papers were downloaded and printed from
http://www.pinkpetticoat.co.uk/. They are from their "Fairy Lights" collection. I used my Nestabilities in the Cuttlebug to cut the circles and scallops. The snowflakes are from two Cuttlebug dies, and they are covered with Star Dust Stickles and adhered with pop dots for dimension. The "jolly" in the sentiment was also made glittery by going over the letters with a Sakura Quickie Glue pen and sprinkling with loose glitter. The light green twill ribbon in from Martha Stewart.

Everyone uses pastel colors for Christmas cards, right?